

 Free Shipping On All Orders
 1000's of Products
 Customer Service 7 Days A Week
 Defra Certified Grass Seed


Ivisons Electric Fencing Screw-in Wood Post Ring Insulator
Short description
A top quality ring insulator - It's highly versatile and can withstand large forces.Availability: In stock
SKU: EF-443145-50pcs
Brand: Ivisons

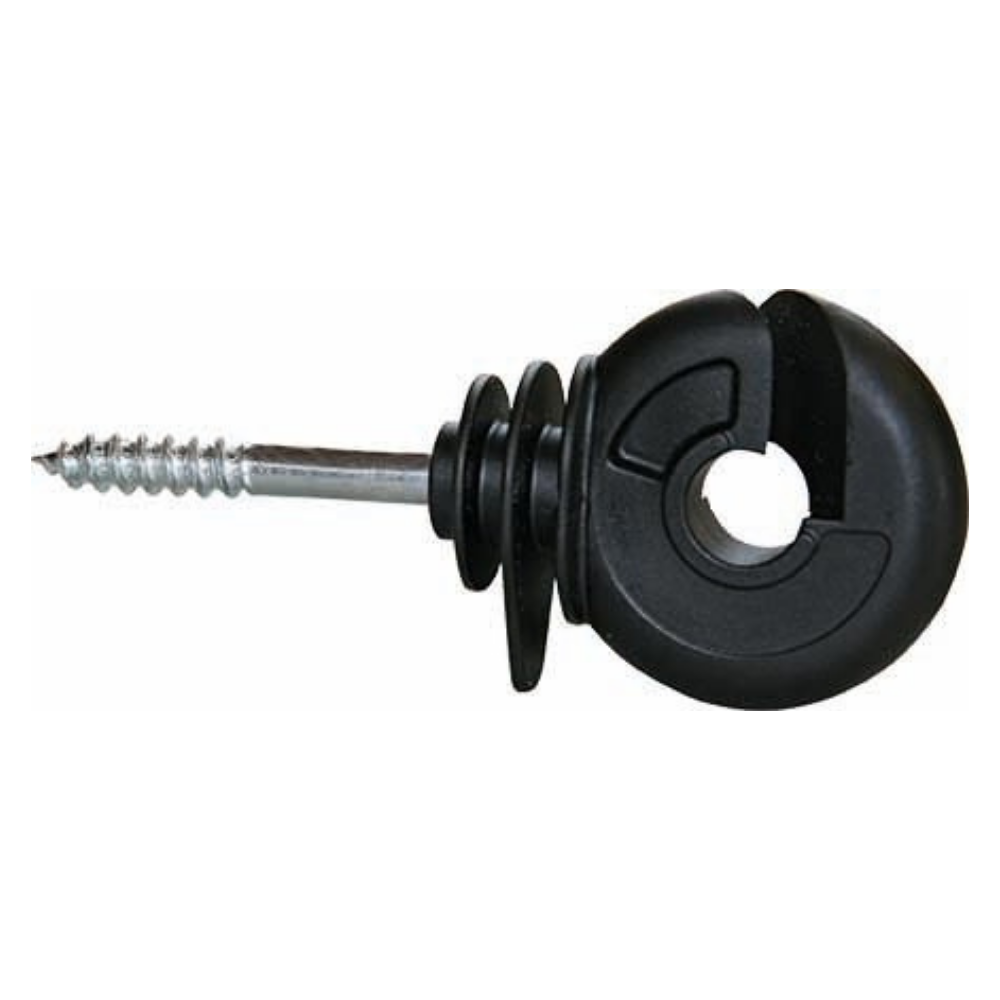
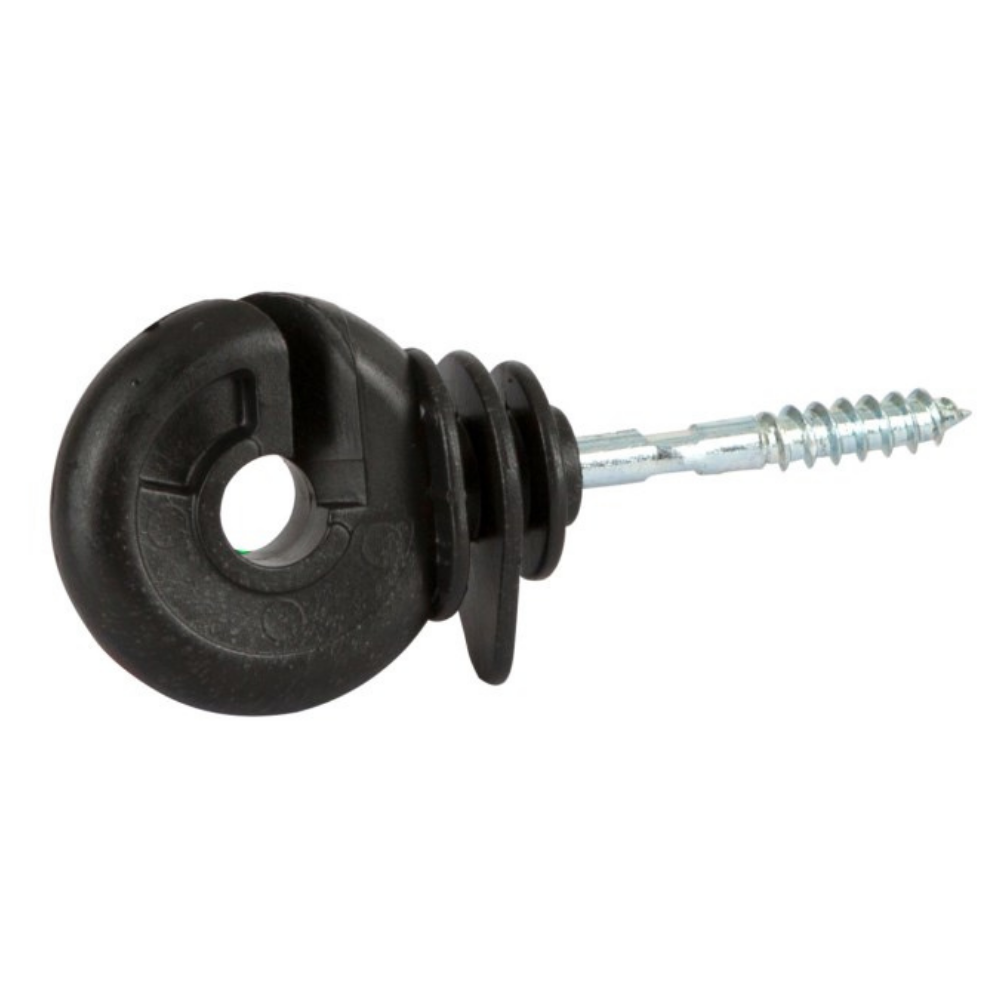
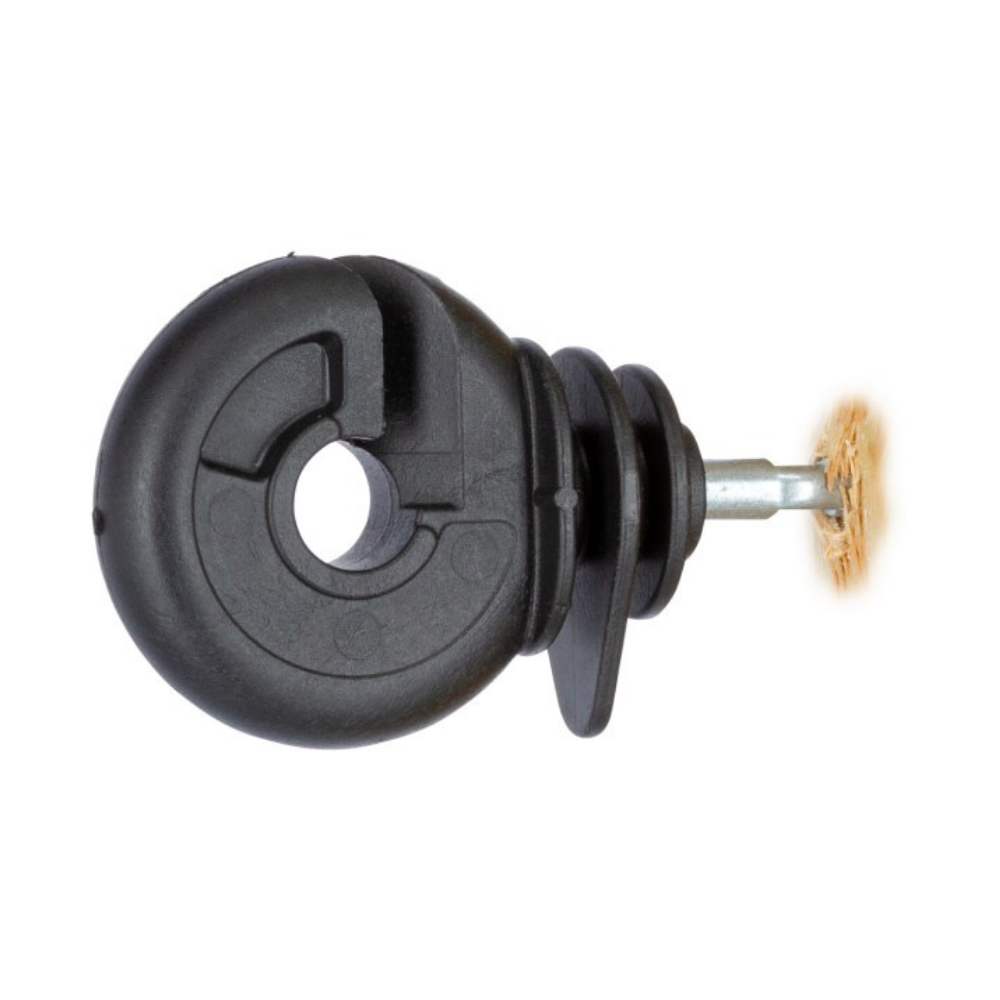
A top quality ring insulator
Ivisons Screw-in Wood Post Ring Insulator has been tried and tested in practice for many years. It's highly versatile so the insulator can also withstand large forces. it possesses a galvanised, continuous metal core for continuous support. The special high-quality plastic allows for outstanding impact and tension resistance. Additionally, 3 drip points ensure a high level of insulation in damp conditions. Ivisons top-quality Screw-in Wood Post Ring Insulator stands out from the rest – it's both economical and easy to use.
Why do you need this product?
|
 |
If you need to keep livestock contained, or wild animals and other intruders out of your garden, electric fencing may be a good option for you. Both humane and effective, electric fencing can be used to enclose a pasture or garden, and are simple to install and maintain.
Step 1: The very first thing you must do is measure the parameters of the garden.
It is important to plan to have a foot space between the edge of the garden and any plants that are close to the edge. You will use this measurement to determine how much electrical wire you will need and approximately how many metal posts you should get.
Step 2: Get enough fence posts.
Poly posts are a perfectly good option as they are flexible enough not to break under stress, yet stiff enough to resist side-strain. They are low cost, lightweight and durable enough to last many years. Ivisons galvanised posts are the easiest to set in the ground. They’re made out of hot-dipped galvanised metal, guaranteeing a long-lasting post.
Tip: Layout the posts around the perimeter of the garden. The posts should be spaced about three to five feet apart. Adjust to best fit your garden. Once the stakes are laid out, use the sledgehammer to drive the metal stakes into the ground.
Step 3: Choose the right material for your electric fence.
You can install electric fencing with electric fence tape, rope and wire. Ivisons open weave tape allows the air to pass through and reduce 'whipping', it is also highly visible, very strong, and won't rust. Rope is a very popular choice for fencing in horses or cattle. It's thicker than wire, therefore, more visible, so the animals are less likely to attempt to get through. Wire is suitable for livestock that doesn't move too quickly, such a sheep.
Step 4: Build your fence.
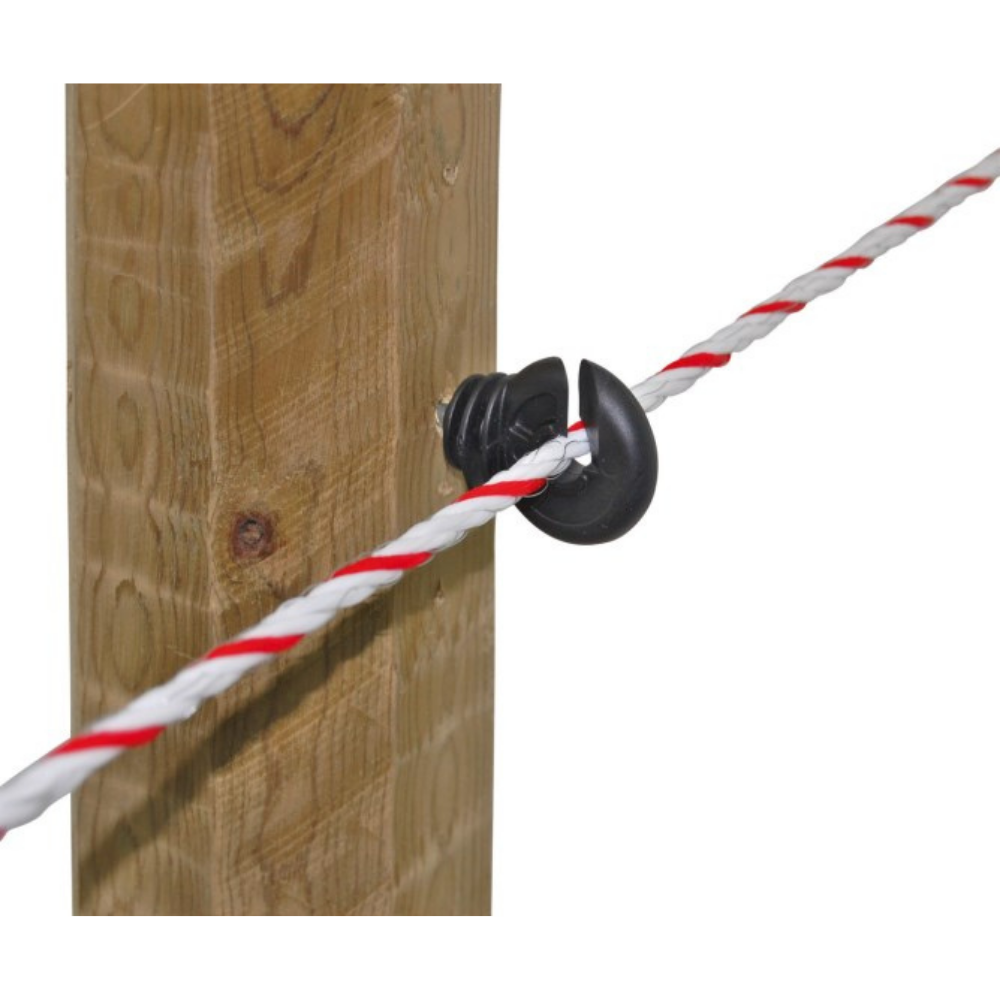
Feed the wire through the eyelets of your poly posts, or through the insulators if you’ve opted for a galvanised post, and mount these at the start and end of the fence. You can use reels for winding and unwinding the conducting material. They’re particularly useful for long fences, problematic terrain or for temporary and semi-permanent fencing systems.
Tip: To avoid any loss of current at the start and end of the fence, do not tie knots in your conducting material.
Step 5: Select an energiser.
To keep the electric fence powered, you’ll need an energiser that will keep electrical current powering the fence wires. Ivisons Solar energiser doesn’t need an electric outlet but they do require a certain amount of sunlight and tends to be more suitable for smaller fencing systems. Select a suitable location for setting up your energiser. This location should provide protection from wind and rain. Energisers must have access to an AC outlet.
Step 6: Put in grounding posts.
To install electric fencing, you need at least 1 grounding post that is 6 feet or longer. Place 1 grounding rod near the charger and use a post-hole digger/slammer to set the grounding post. Leave at least 2 inches of the post above the ground. When installing electric fencing, it's a good idea to set another grounding post 10 feet to 20 feet from the first post.
Step 7: Attach a lead.
The wire needs to extend from the ground terminal of the energiser to all the grounding posts. Secure the wire to the posts with a grounding clamp.


